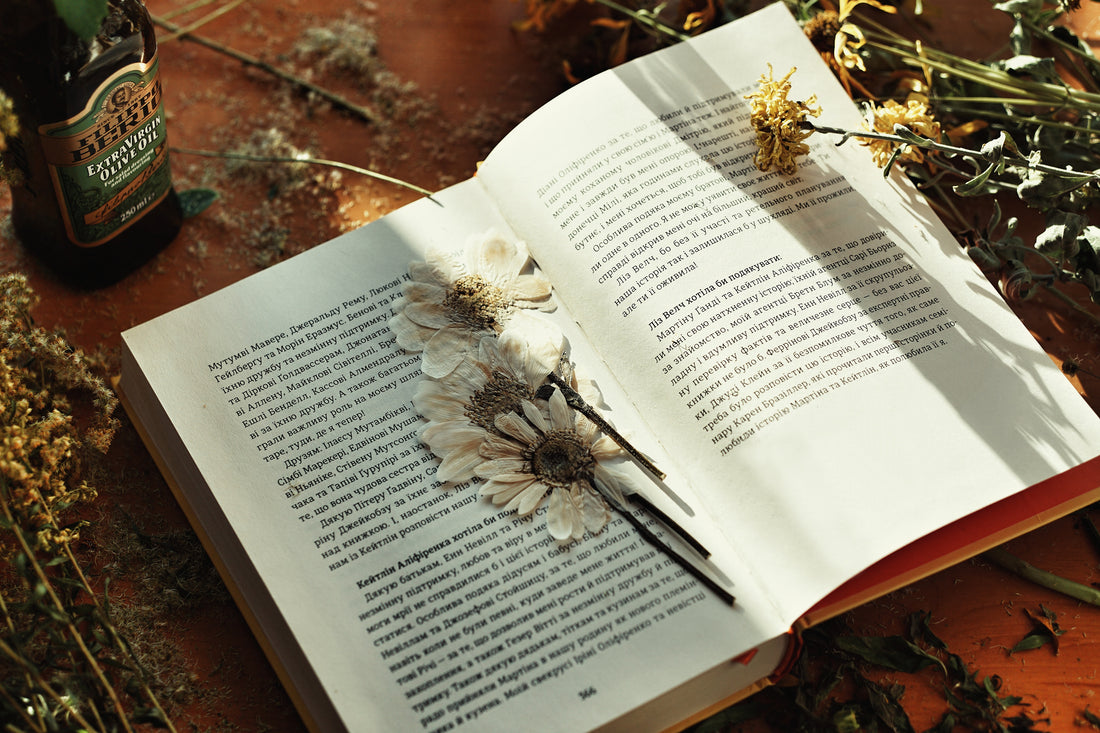
Floral enthusiasts and nature lovers, have you ever wondered how to capture the delicate beauty of a flower in a lasting form? Pressing flowers is not just an old-fashioned hobby; it's an art form that has been practiced for centuries. This process allows you to preserve the color and shape of a flower, transforming it into a keepsake that can last indefinitely. Whether you're a seasoned florist or a DIY aficionado, pressing flowers is a craft that anyone can enjoy. In this guide, we will walk you through the simple steps you need to follow to press your own flowers.
Materials Needed
- Fresh flowers (choose those that are free from dew or moisture)
- Absorbent paper (newsprint, parchment paper, or blotting paper)
- A heavy book or flower press
- A pair of scissors
- Tweezers
- Optional: Iron, for a quicker drying process
Choosing the Right Flowers
The quality of the flowers you choose will significantly affect the outcome of the pressing process. Pick flowers that are freshly bloomed, but not overly ripe or wilting. The best time to pick flowers is on a dry, sunny day after the morning dew has evaporated.
Step-by-Step Instructions
Traditional Book Method:
-
Prepare the Flowers: Trim any excess stems and remove any loose petals or leaves. This ensures that the flower lies flat during the pressing process.
-
Arrange the Paper: Open the heavy book and lay down a sheet of absorbent paper on one side.
-
Place the Flowers: Gently place the flower face down on the absorbent paper. Ensure that the petals are spread out and not overlapping.
-
Cover the Flowers: Place another sheet of absorbent paper over the flower.
-
Close the Book: Gently close the book, making sure not to shift the position of the flower.
-
Add Weight: Place additional books or weights on top of the book containing the flower. This helps in ensuring that the flowers press evenly and securely.
-
Wait and Check: Let the flower sit in the press for 2-3 weeks. Check periodically to ensure it is pressing well.
Iron Method (For quicker results):
-
Prepare the Flowers and Iron: As above, prepare your flower and set your iron on the lowest setting.
-
Place the Flowers: Place the flower between two sheets of absorbent paper, just like in the book method.
-
Press with Iron: Gently press the warm iron on the top sheet of paper and hold for 10-15 seconds. Do not move the iron back and forth as this may disturb the flower.
-
Check and Store: Allow the flower to cool down and check to see if it has dried completely. Once fully dried, you can store or use it as you desire.
Creative Uses for Pressed Flowers
- Frame them as artwork.
- Use them in greeting cards or invitations.
- Incorporate them into a botanical illustration.
- Create unique gifts, perhaps by embedding them in resin or glass.
Pressed flowers offer an endless realm of artistic possibilities. Whether you're running a sustainable floristry business or are a hobbyist, the applications are limitless.
Pressing flowers is more than just a craft; it's a way to capture the fleeting beauty of nature in a lasting form. Give it a try and discover the joy that comes from this simple yet rewarding process.

